Jem Butterfly Cutters Tutorial
Jem Butterfly Cutters Tutorial
This tutorial will show you how to make butterflies with the Jem butterfly cutters. There are four different styles in the set but the technique is the same for all of them.
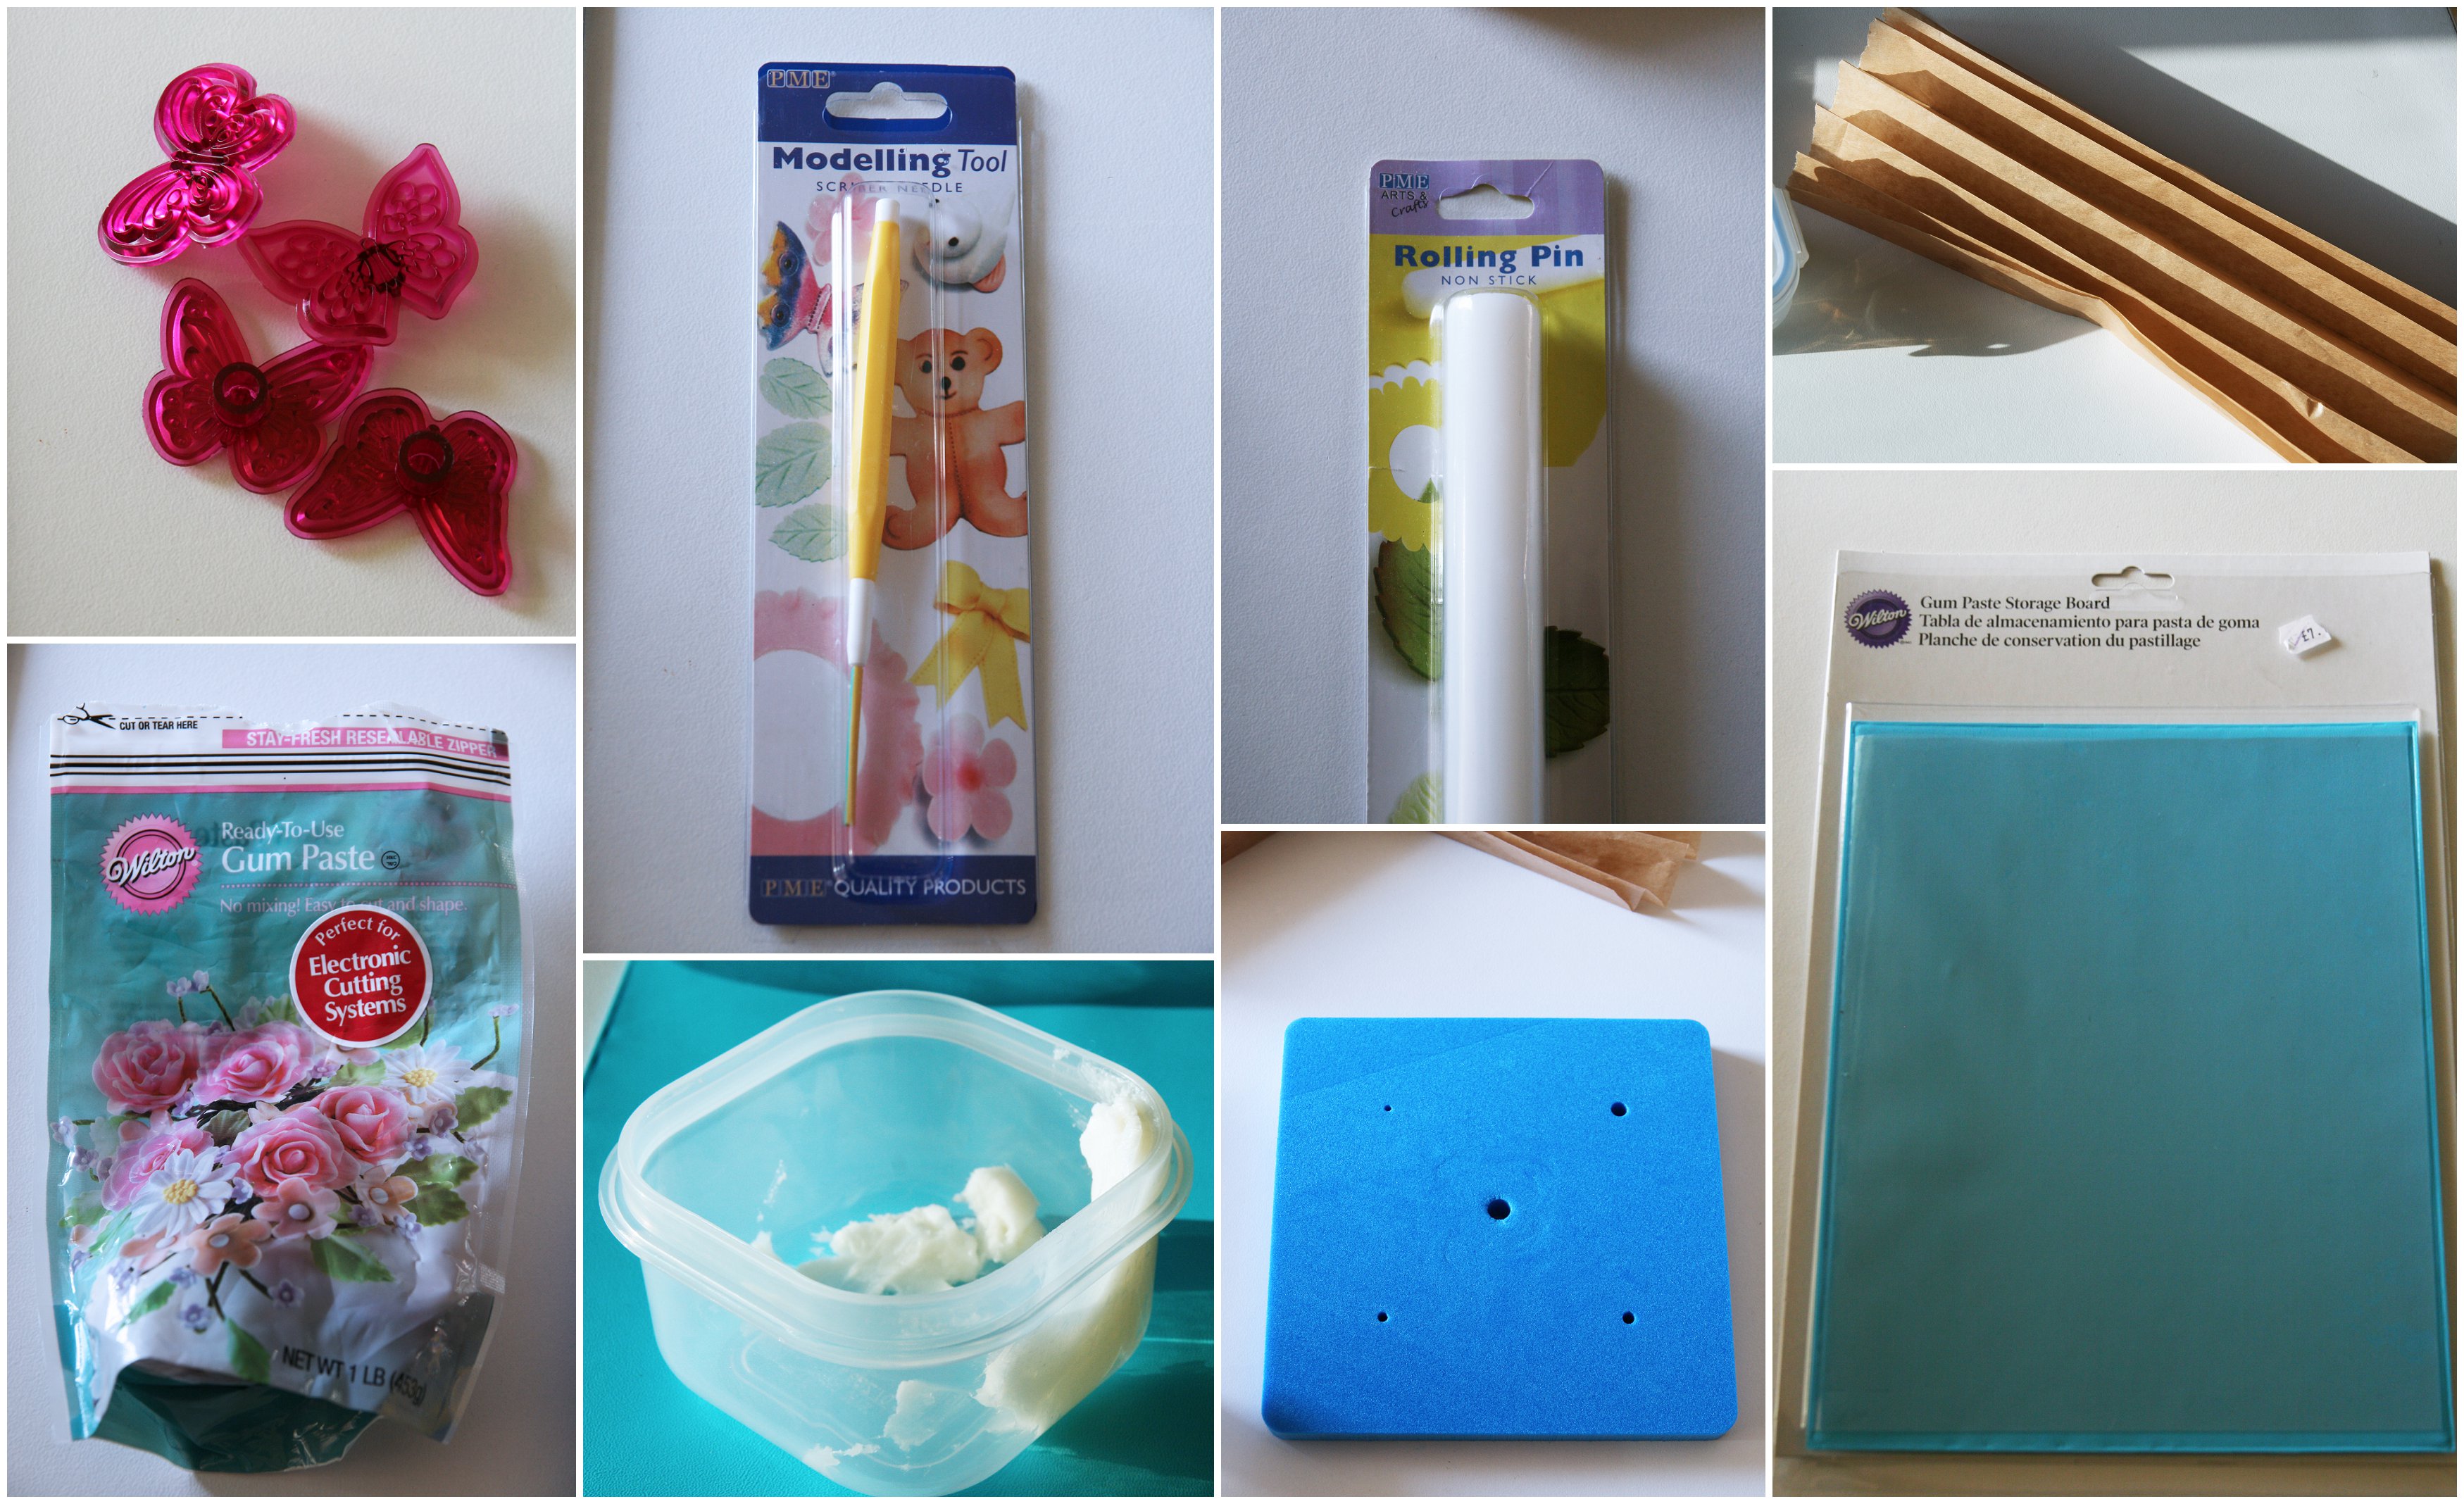
You will need the following:
Gum paste, I use Wilton or Squires Kitchen flower paste
A rolling pin
A scribe tool
A surface to roll on
Your Jem cutters
A Jem pad
Some folded baking parchment
Trex
Start by pulling a small amount of paste from your pack. It will look all rough to start with.
Take a small amount of Trex on your fingers and work it into the paste untill the paste is smooth and pliable.

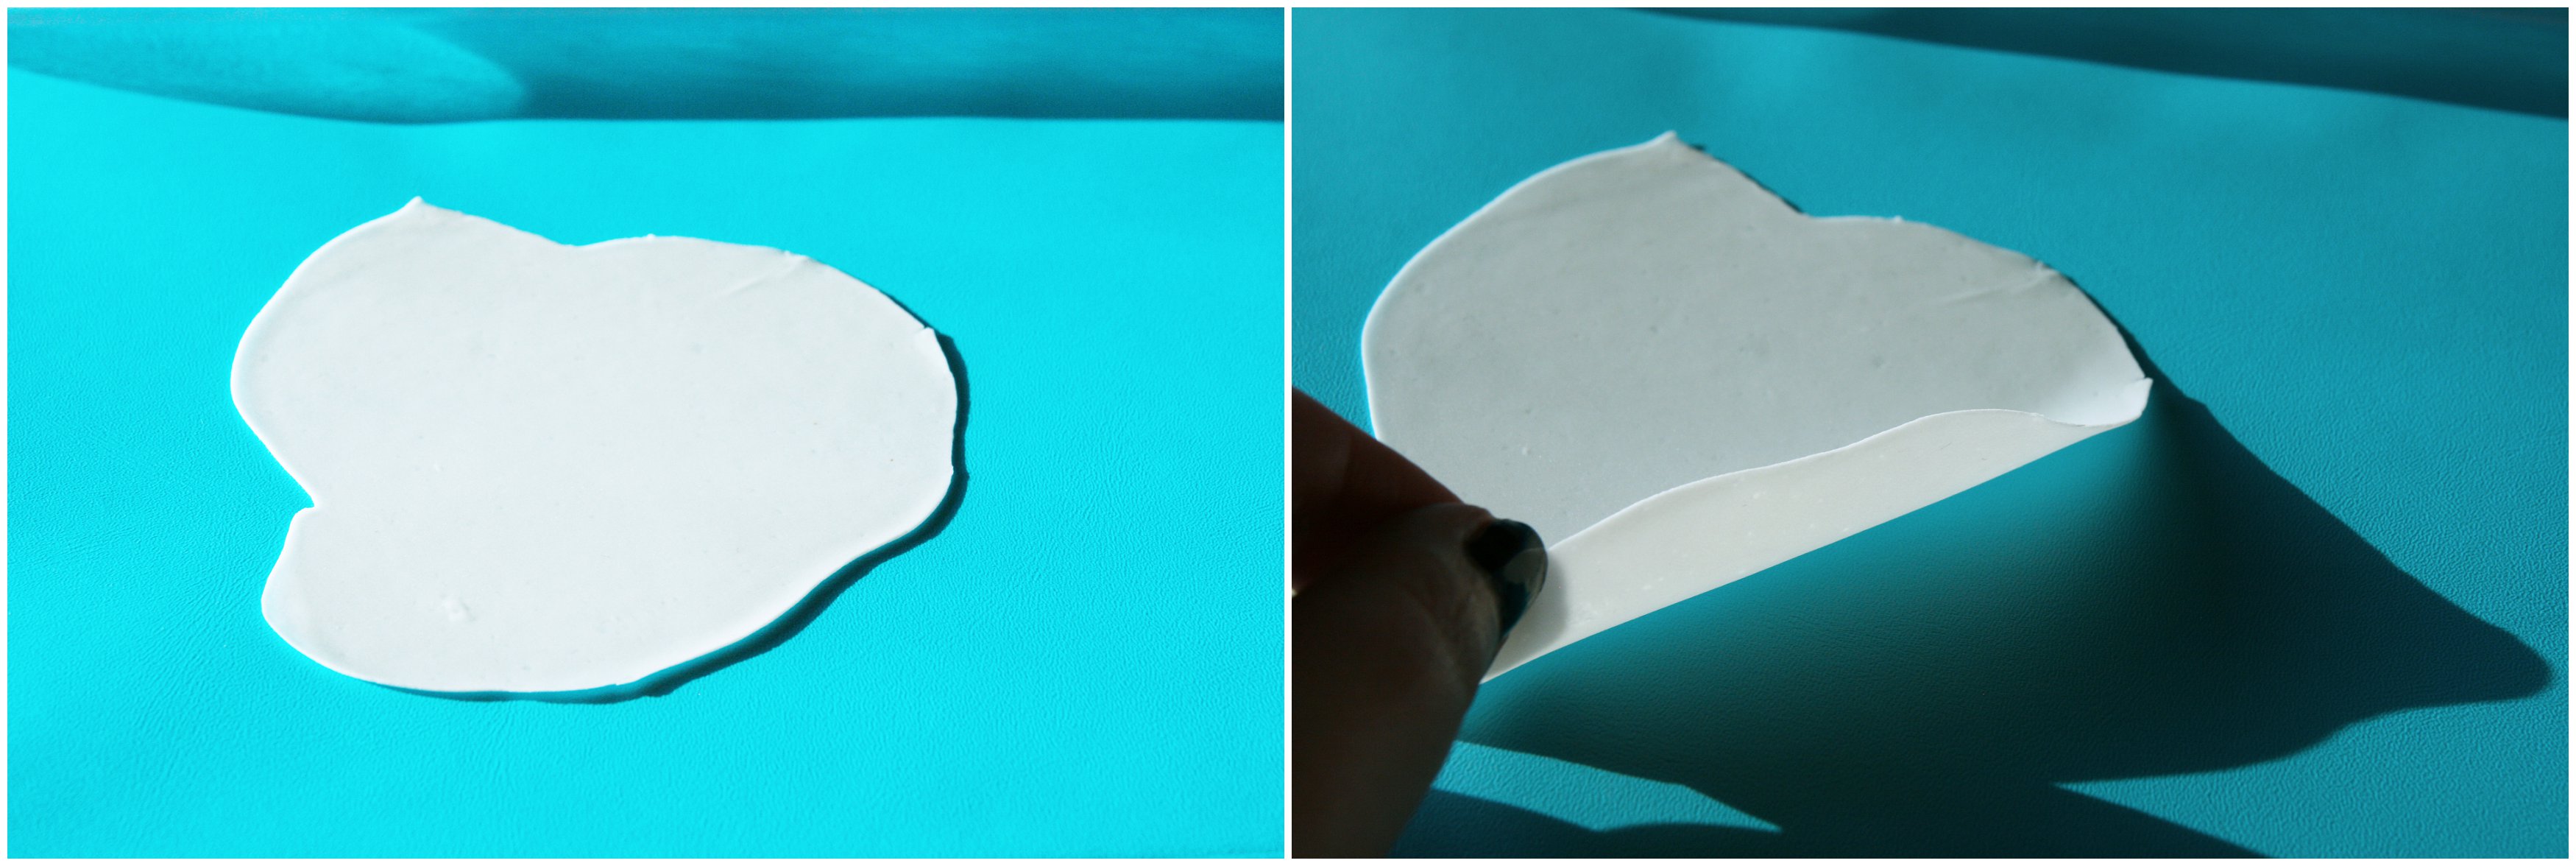
Roll out the paste to a millimetre thick on your surface. I use a wilton gum paste storage board as it has a built in cover to stop your paste from drying out. If you don’t have one of these make sure you cover your paste with either cling film of a piece of plastic once you have rolled it out. The trex you added to the paste earlier stops it sticking to the rolling pin and board.
Your Jem cutters have a small round piece on the back of them, you will see that the Jem pad has a corresponding round hole. Place the Jem cutter on the pad so that it fits in the hole.

Now take your rolled paste and place it over the top of the cutter.

Use the rolling pin to roll over the top of the cutter. This pushes the paste into the cutter and removes the excess paste


Make sure that you push hard enough with the rolling pin that the excess paste falls away from the cutter. Put the excess in your gum paste board (or under your clingflim) to stop it drying out.

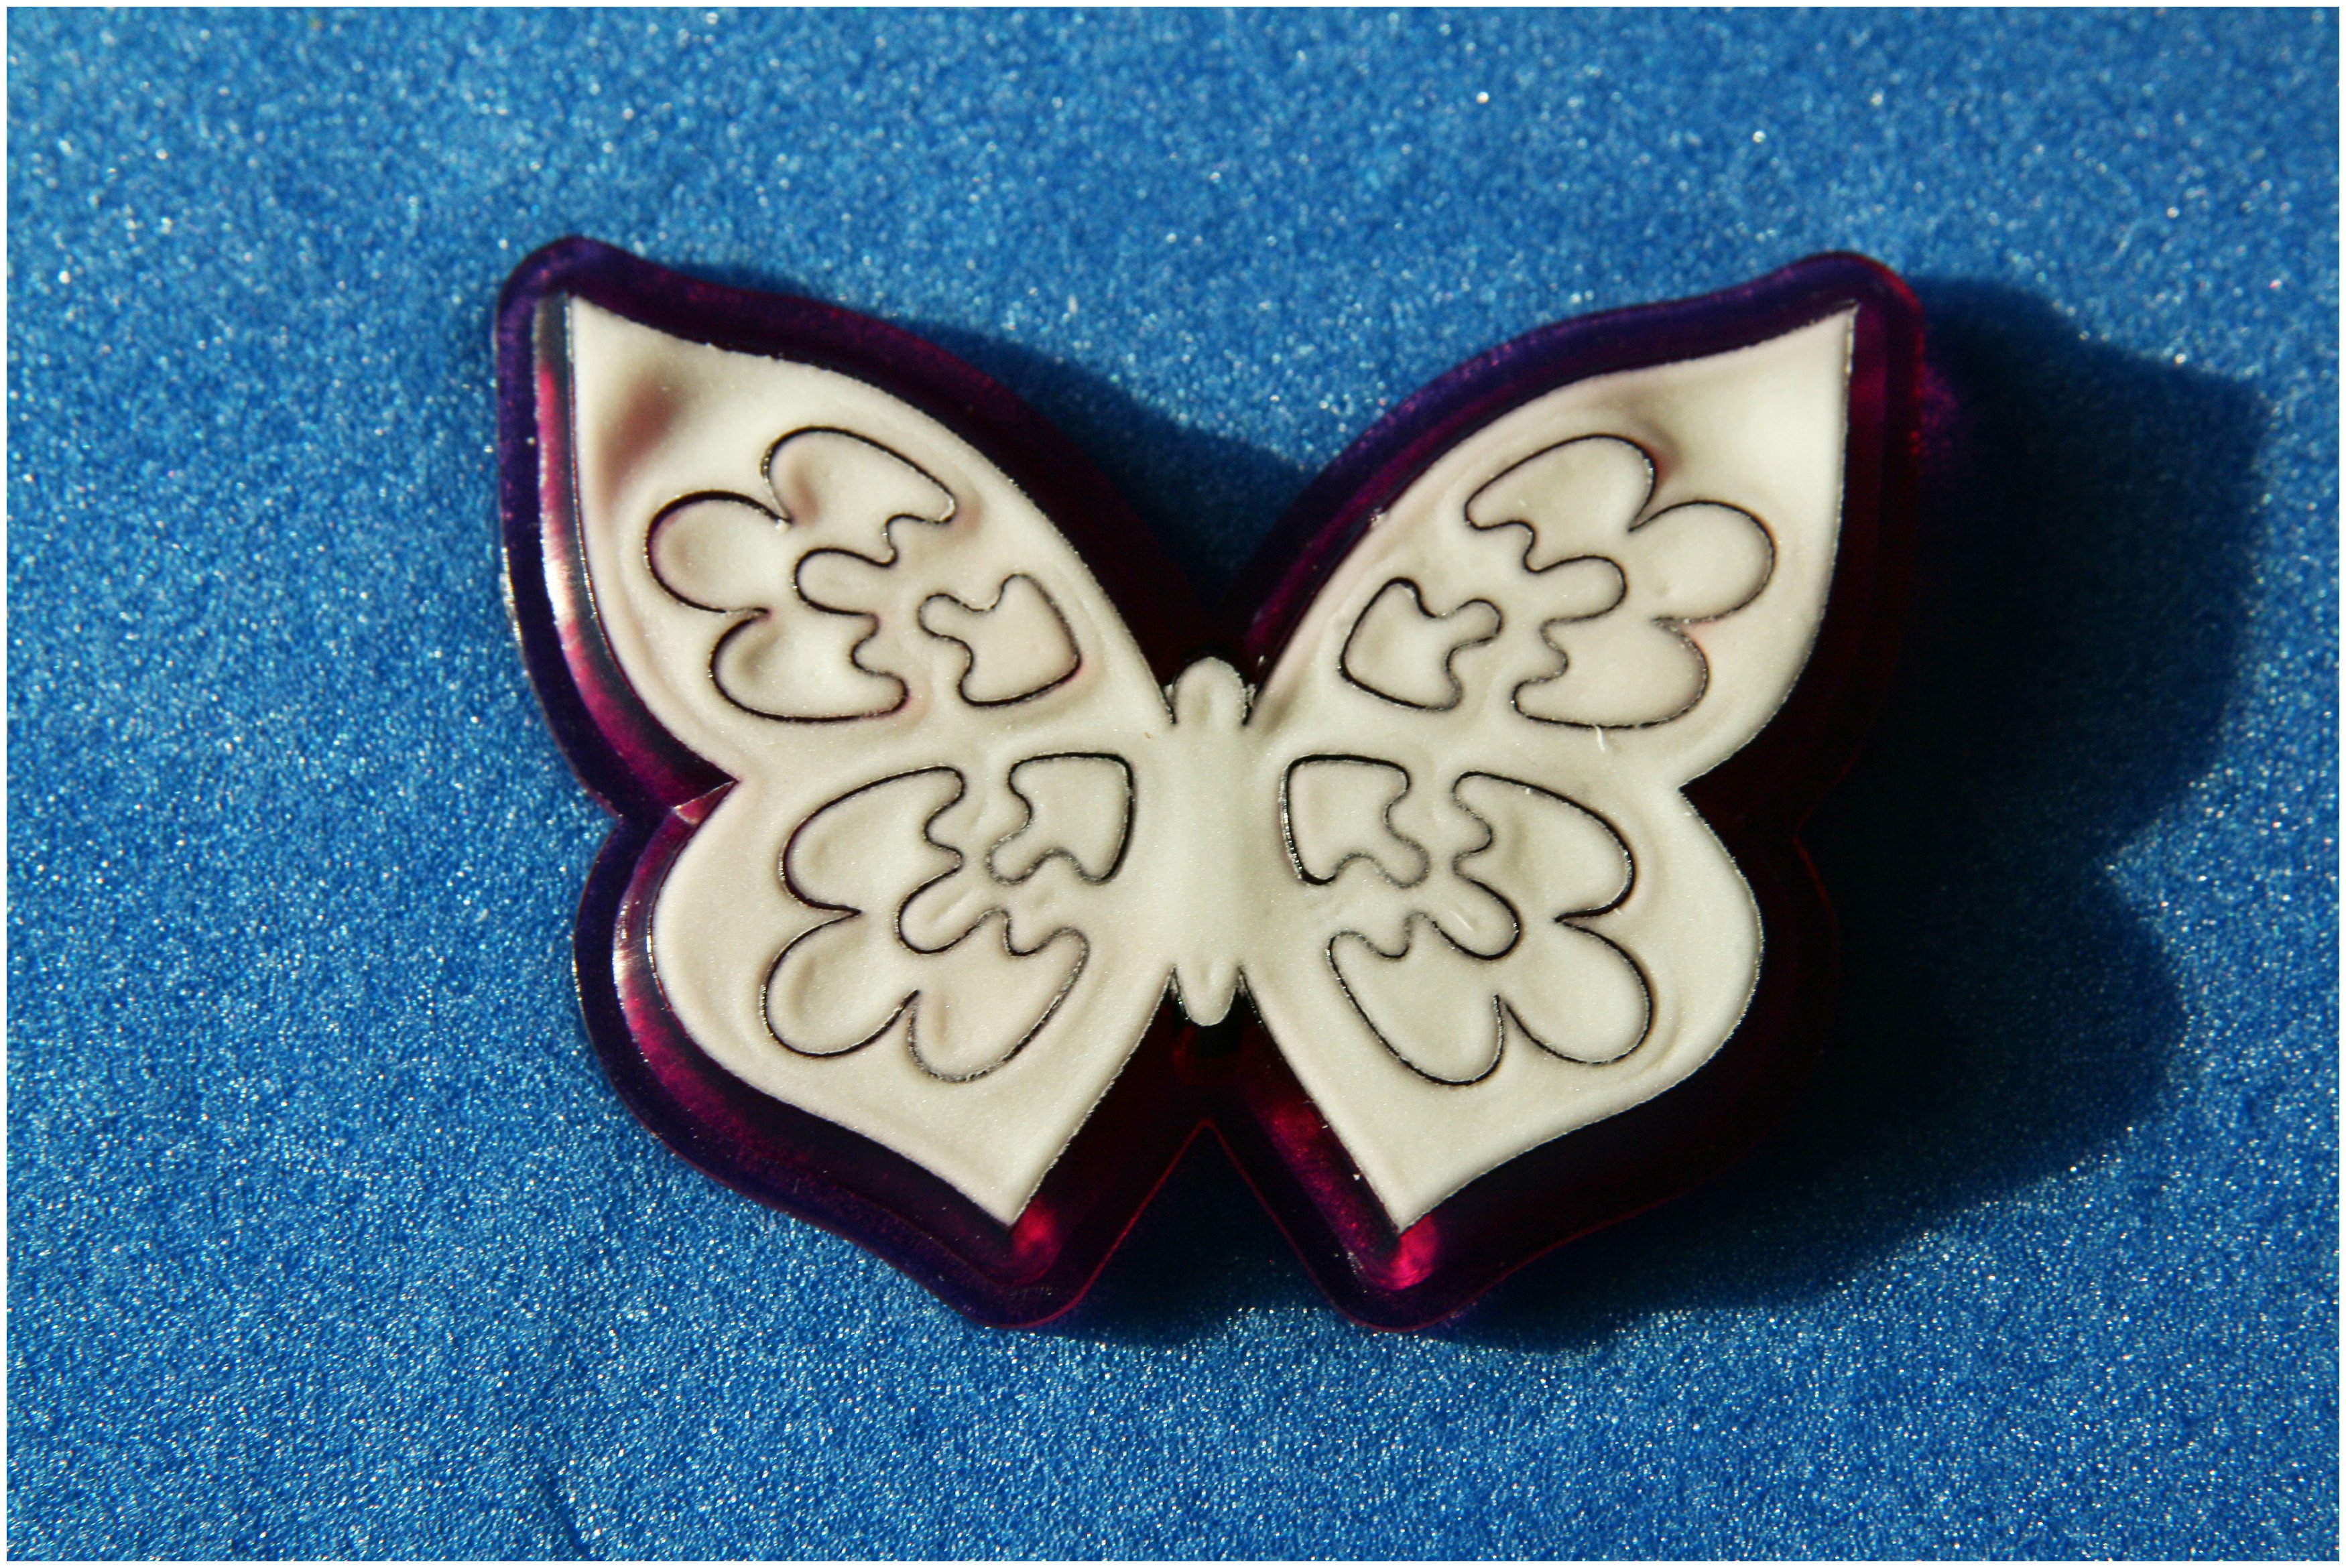
Your cutter should now look like this.
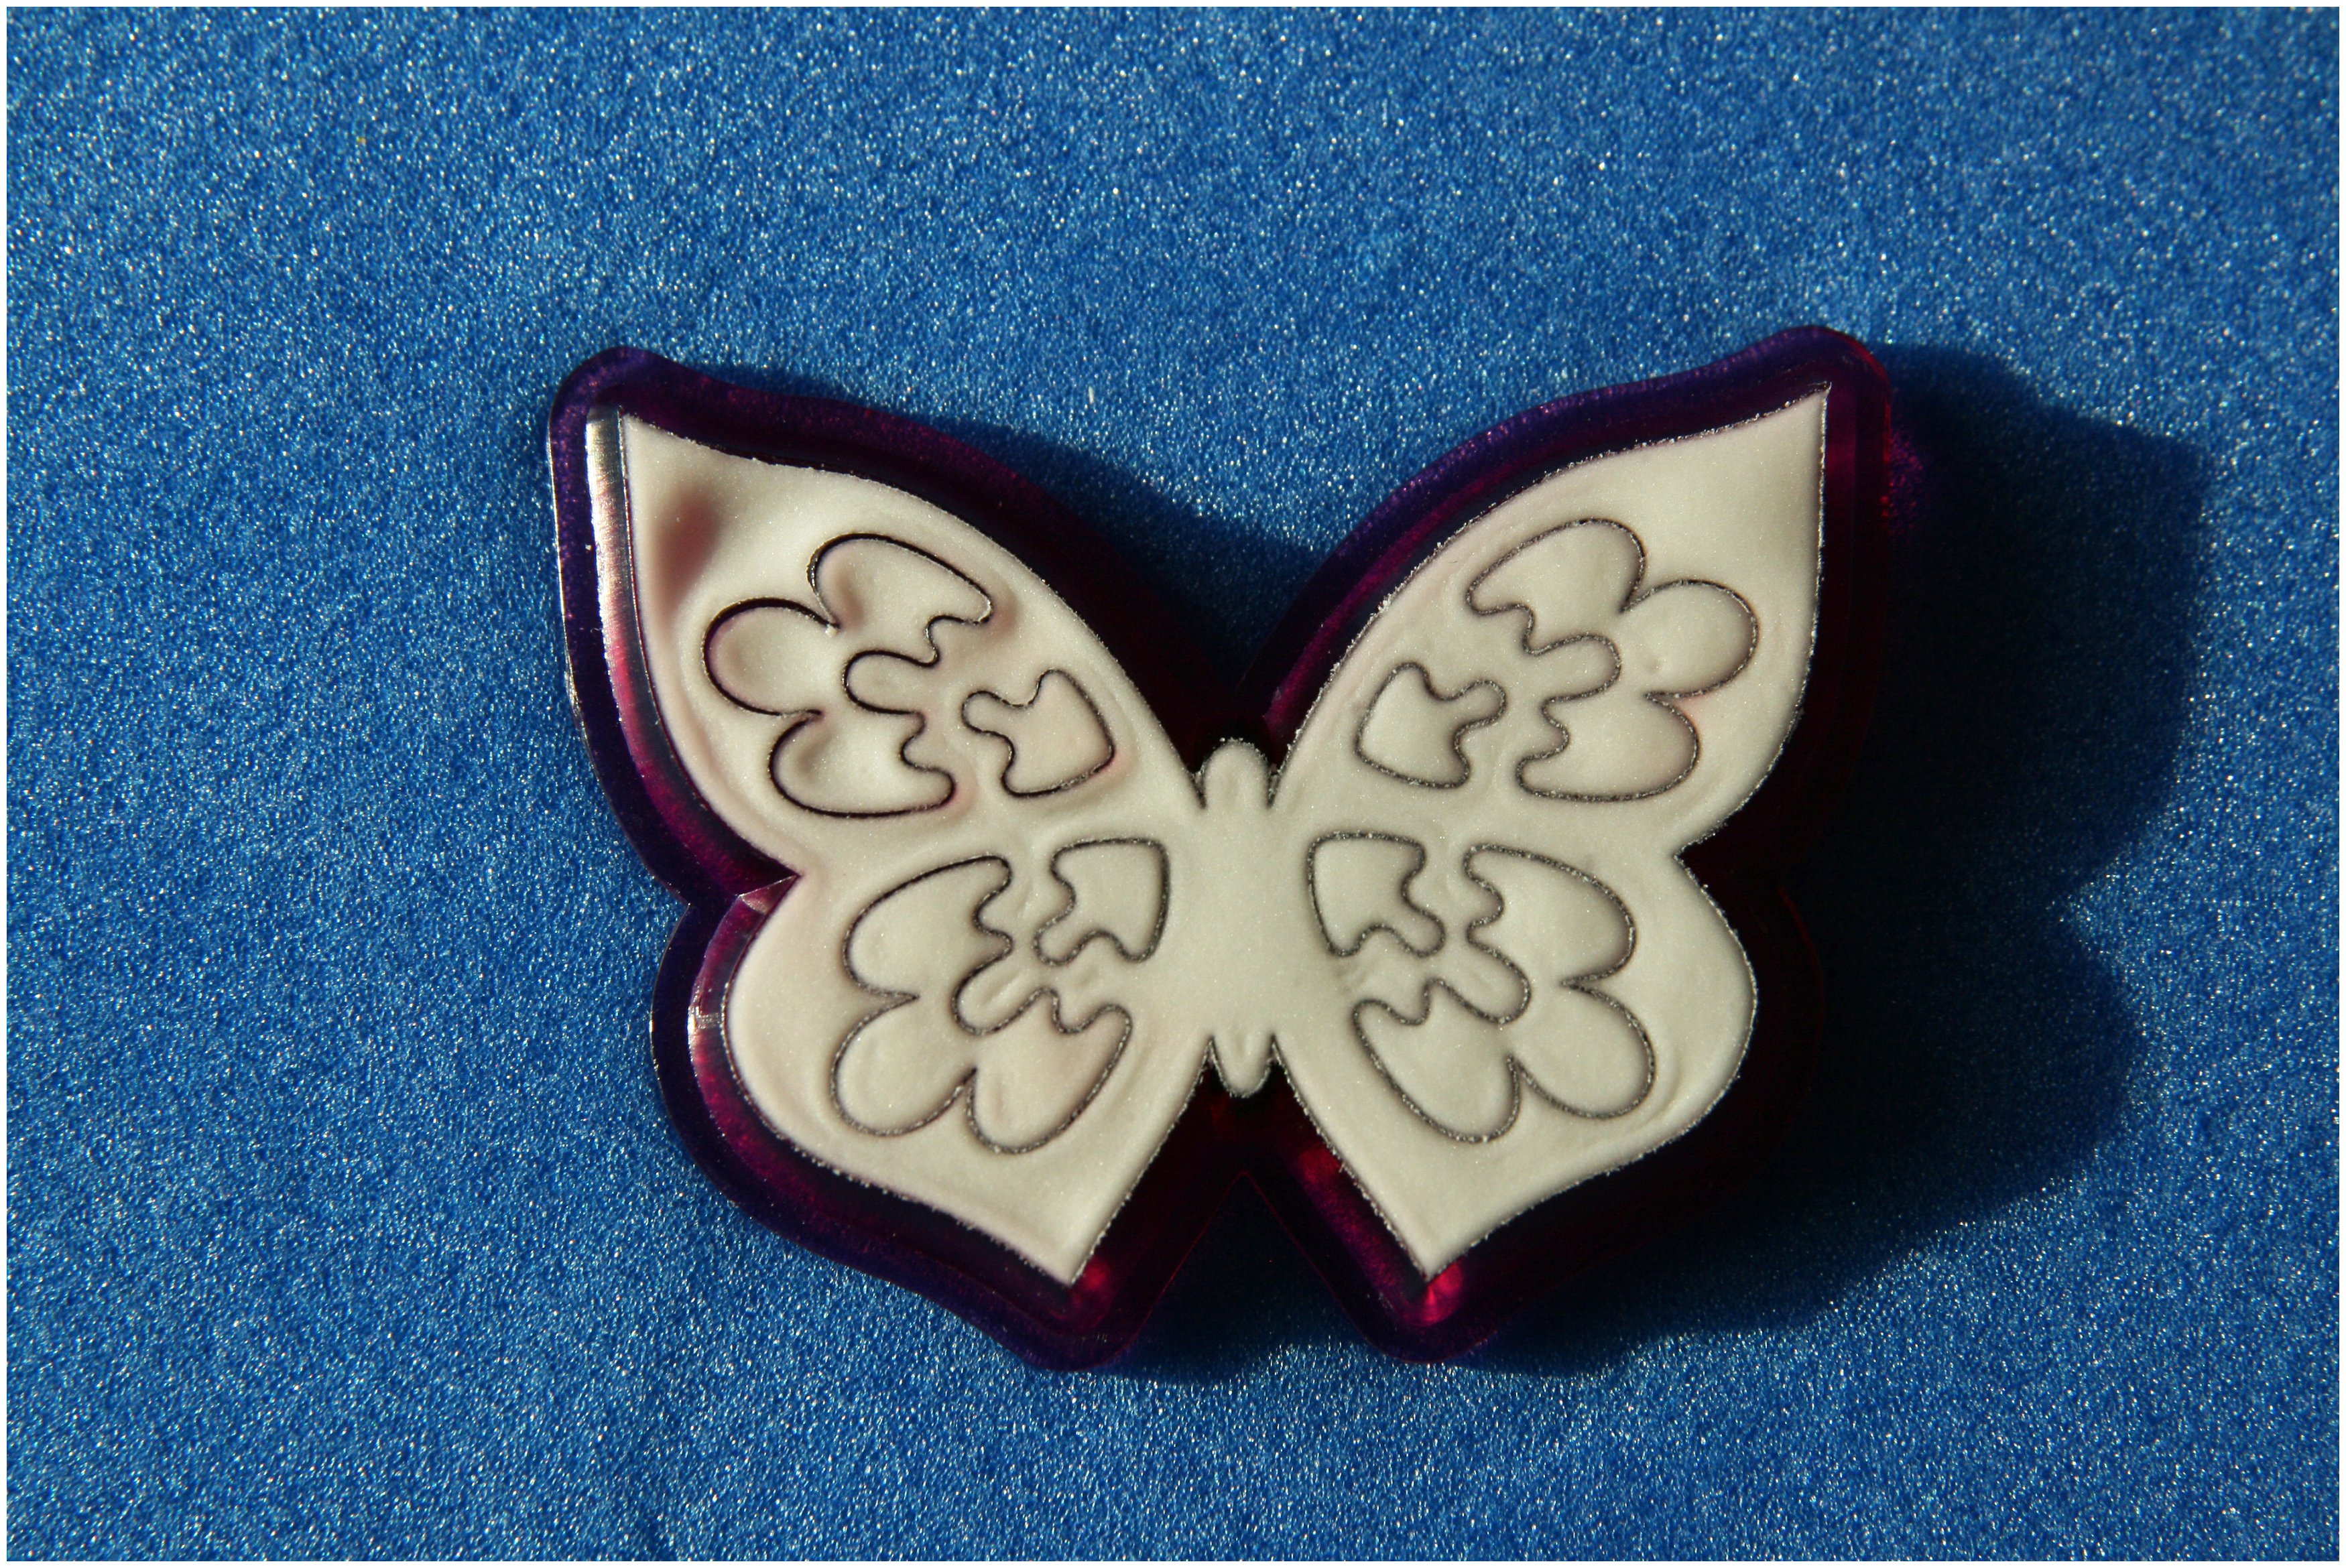
Rub over the cutter with your finger to make sure you can see all of the edges of the cutter through the paste. If you look closely you can see that I have only done the top left hand corner in the photo above. Rub over the whole cutter.
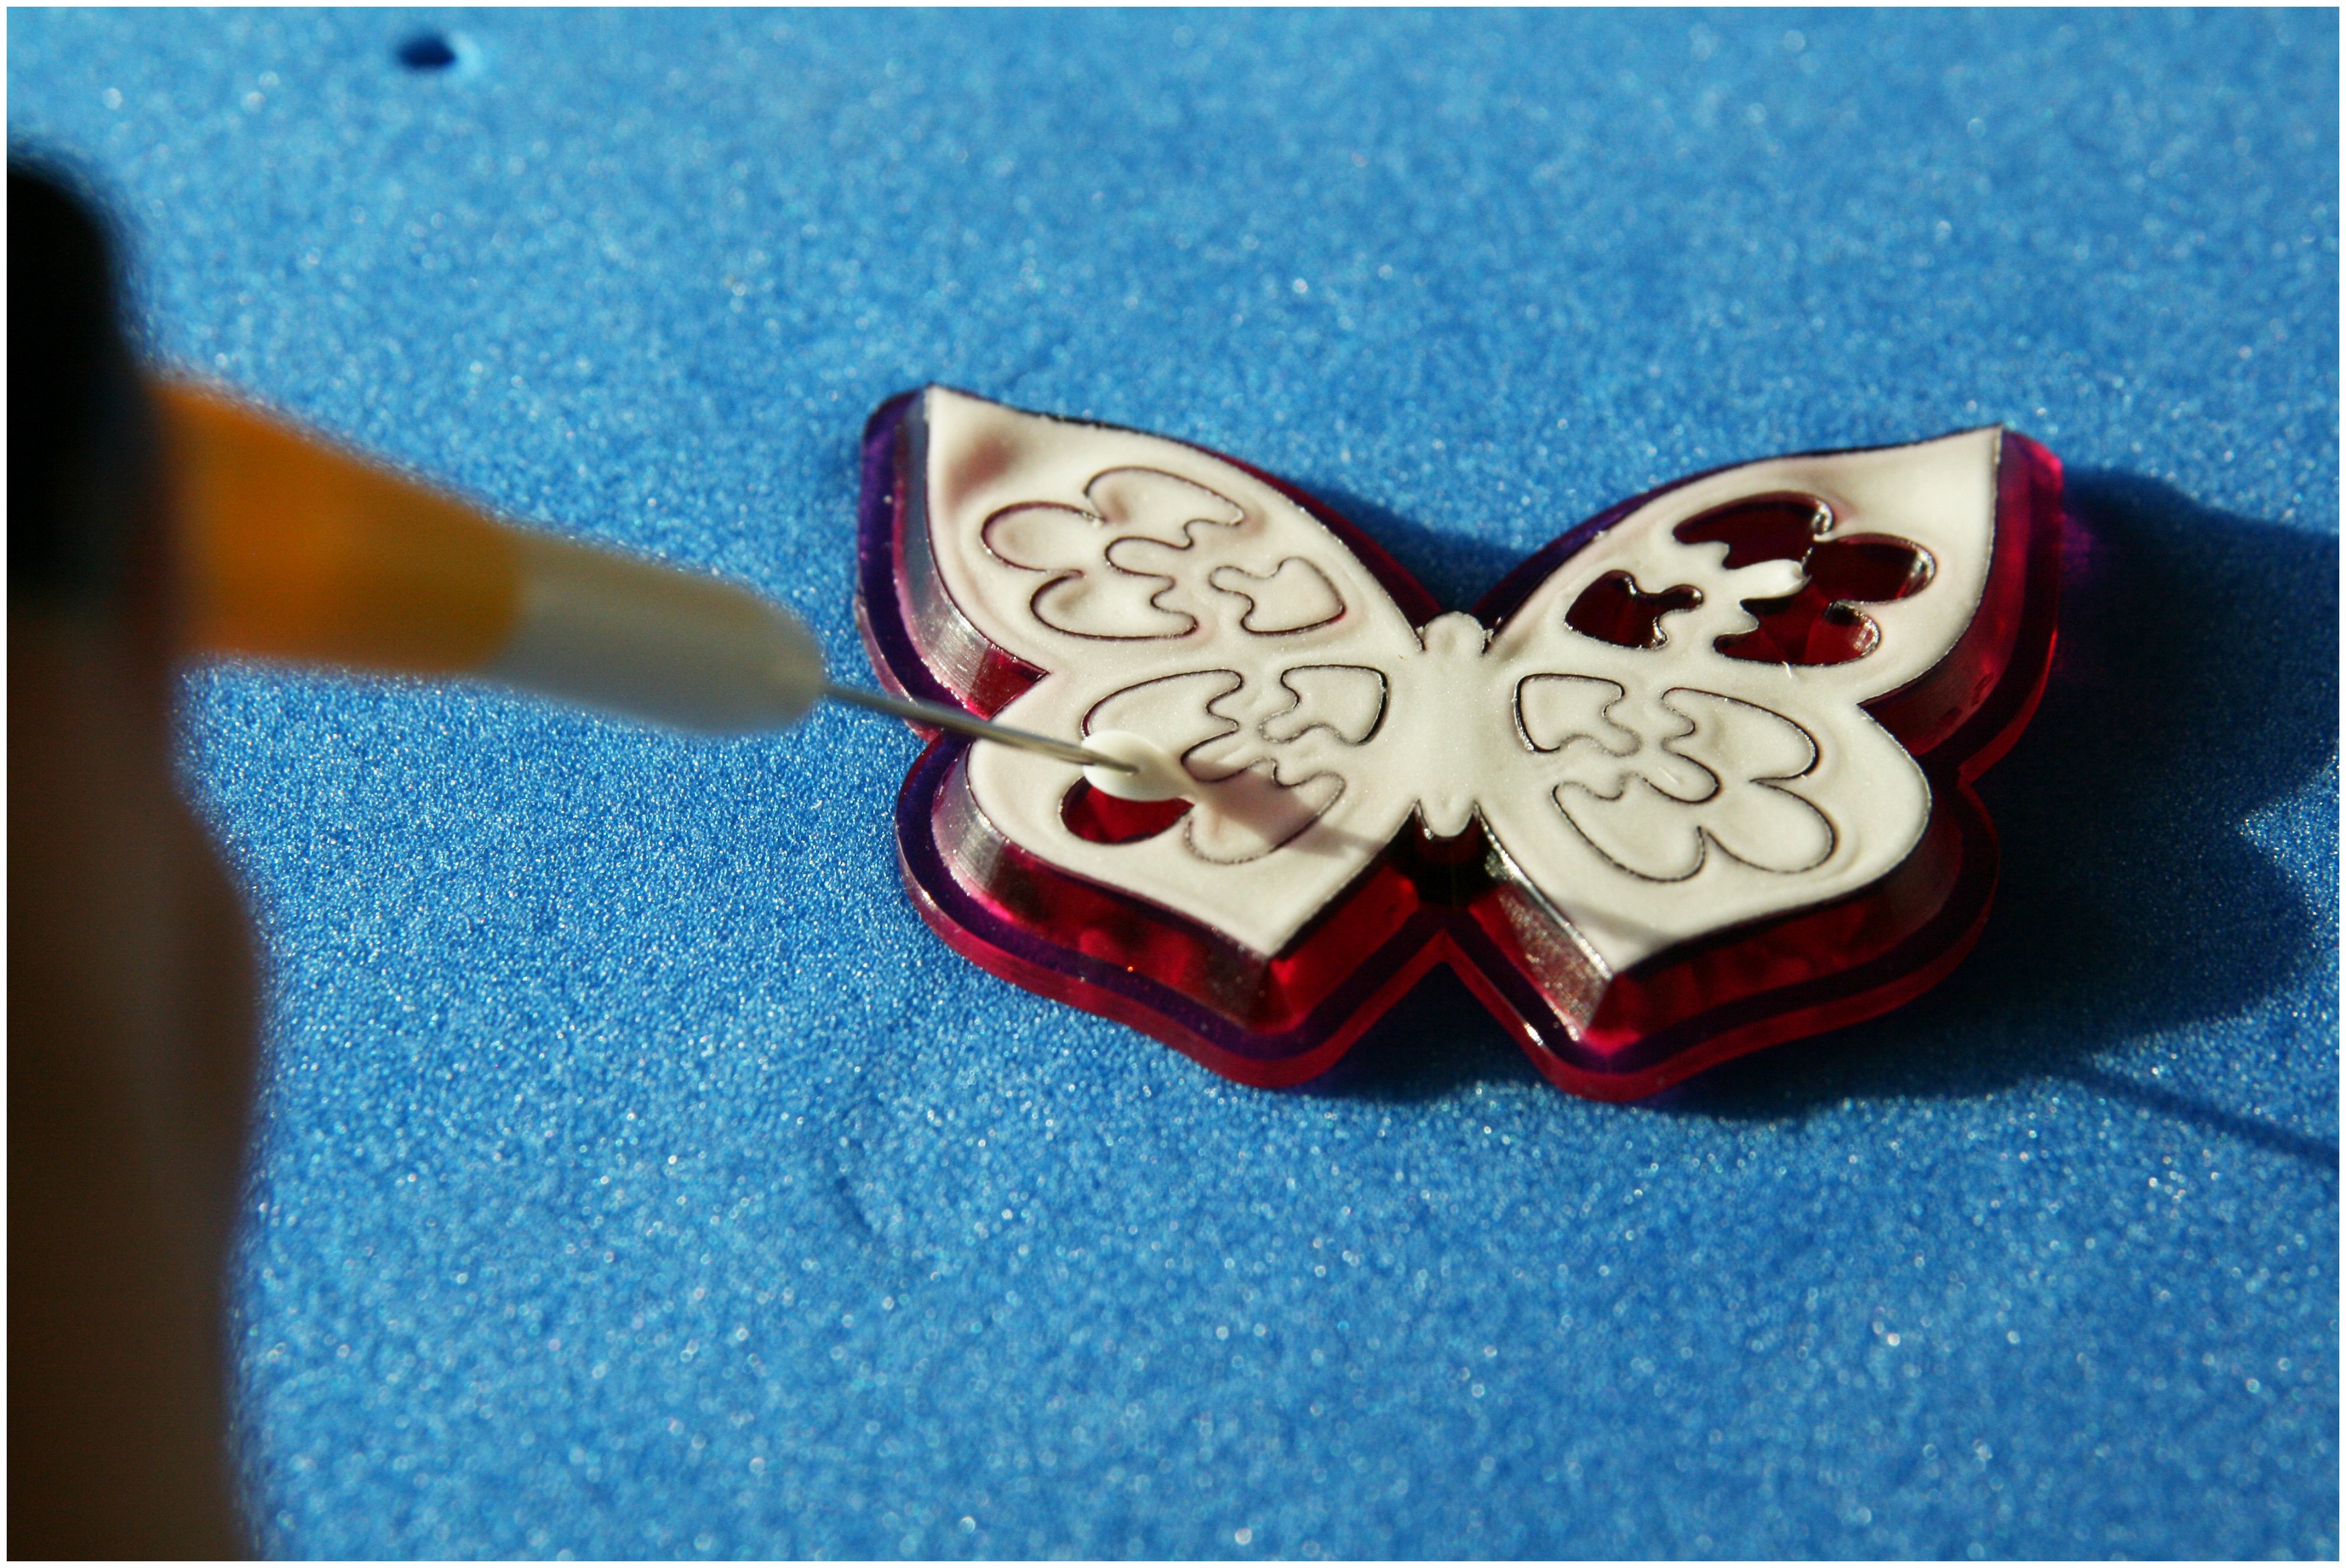
Wait for a minute or so for the paste to air dry. Then take your scribe tool and carefully remove the inlay sections as shown below.


Now you need to remove the butterfly from the cutter itself. The paste should be dry enough to do this immediately, but if you start to stretch the butterfly wait a few moments more. Use the scribe tool to carefully lift up the top corner of the butterfly. Run the tool under the paste to ease out one side, wing, of the butterfly. Work from the edge into the centre. Don’t gouge out the butterfly or you will mark it with the tool. Run the tool against the cutter edges underneath the paste instead.

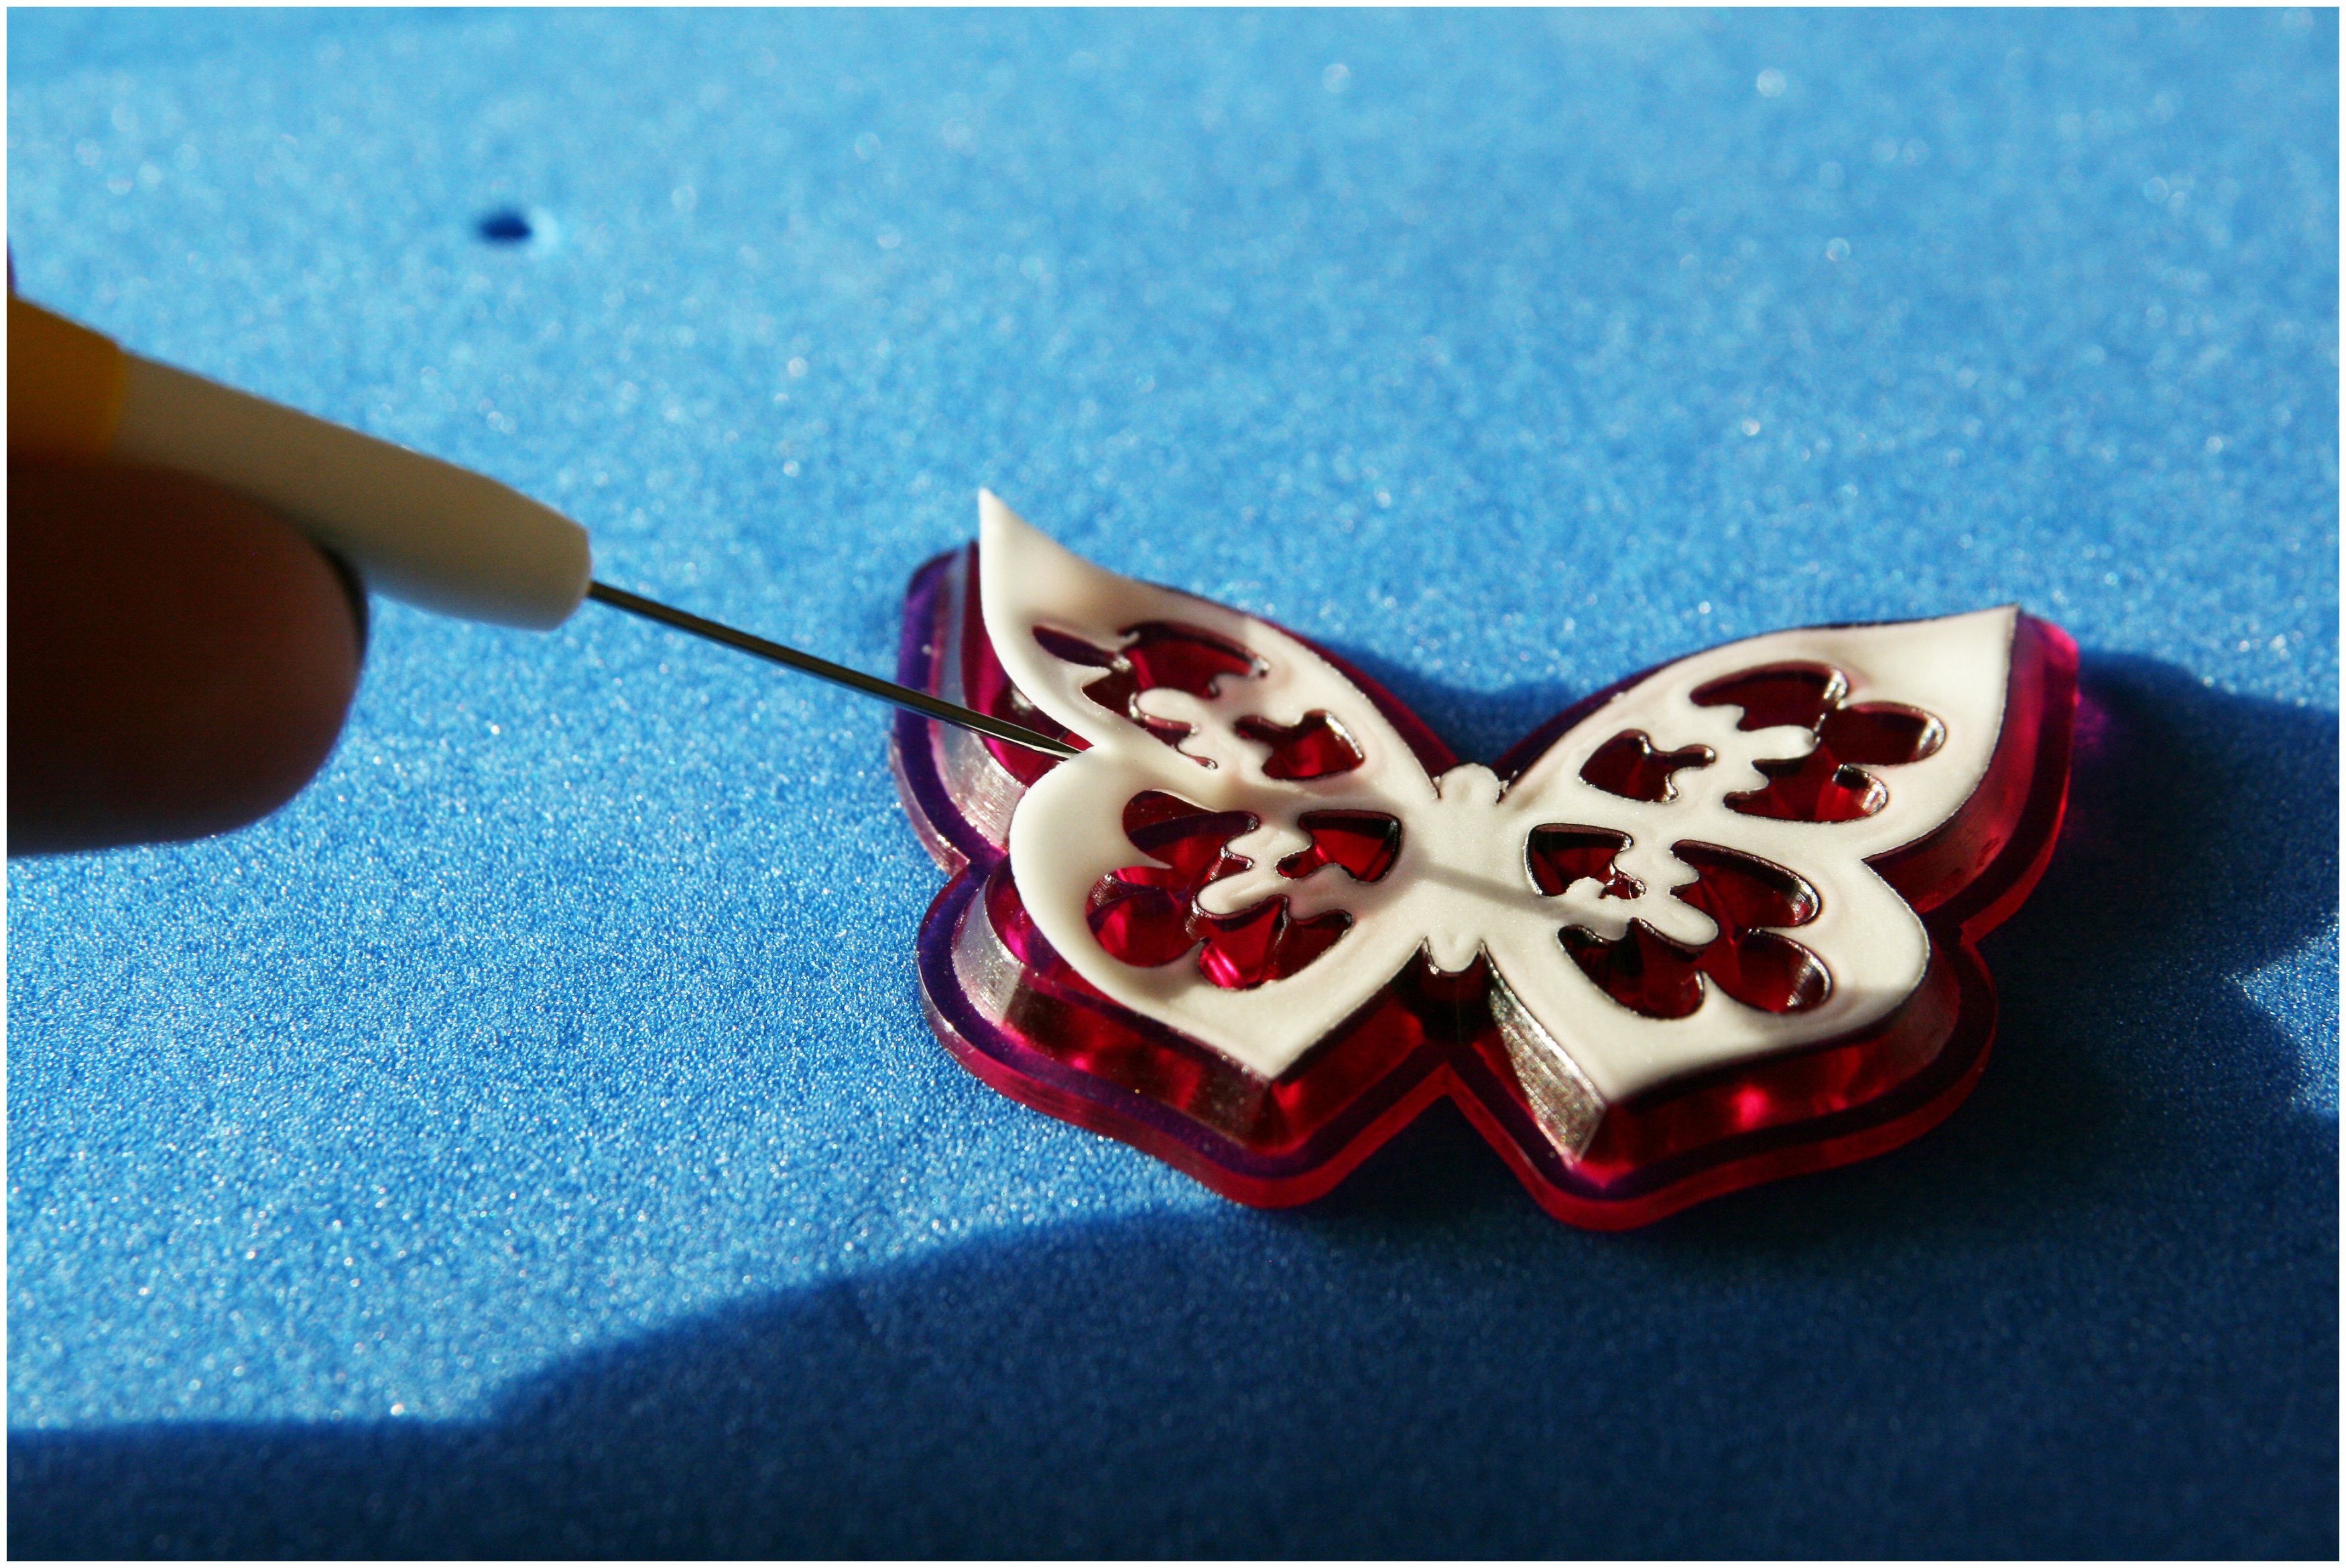

Now swap to the other side and repeat, leaving the centre of the butterfly in the cutter.

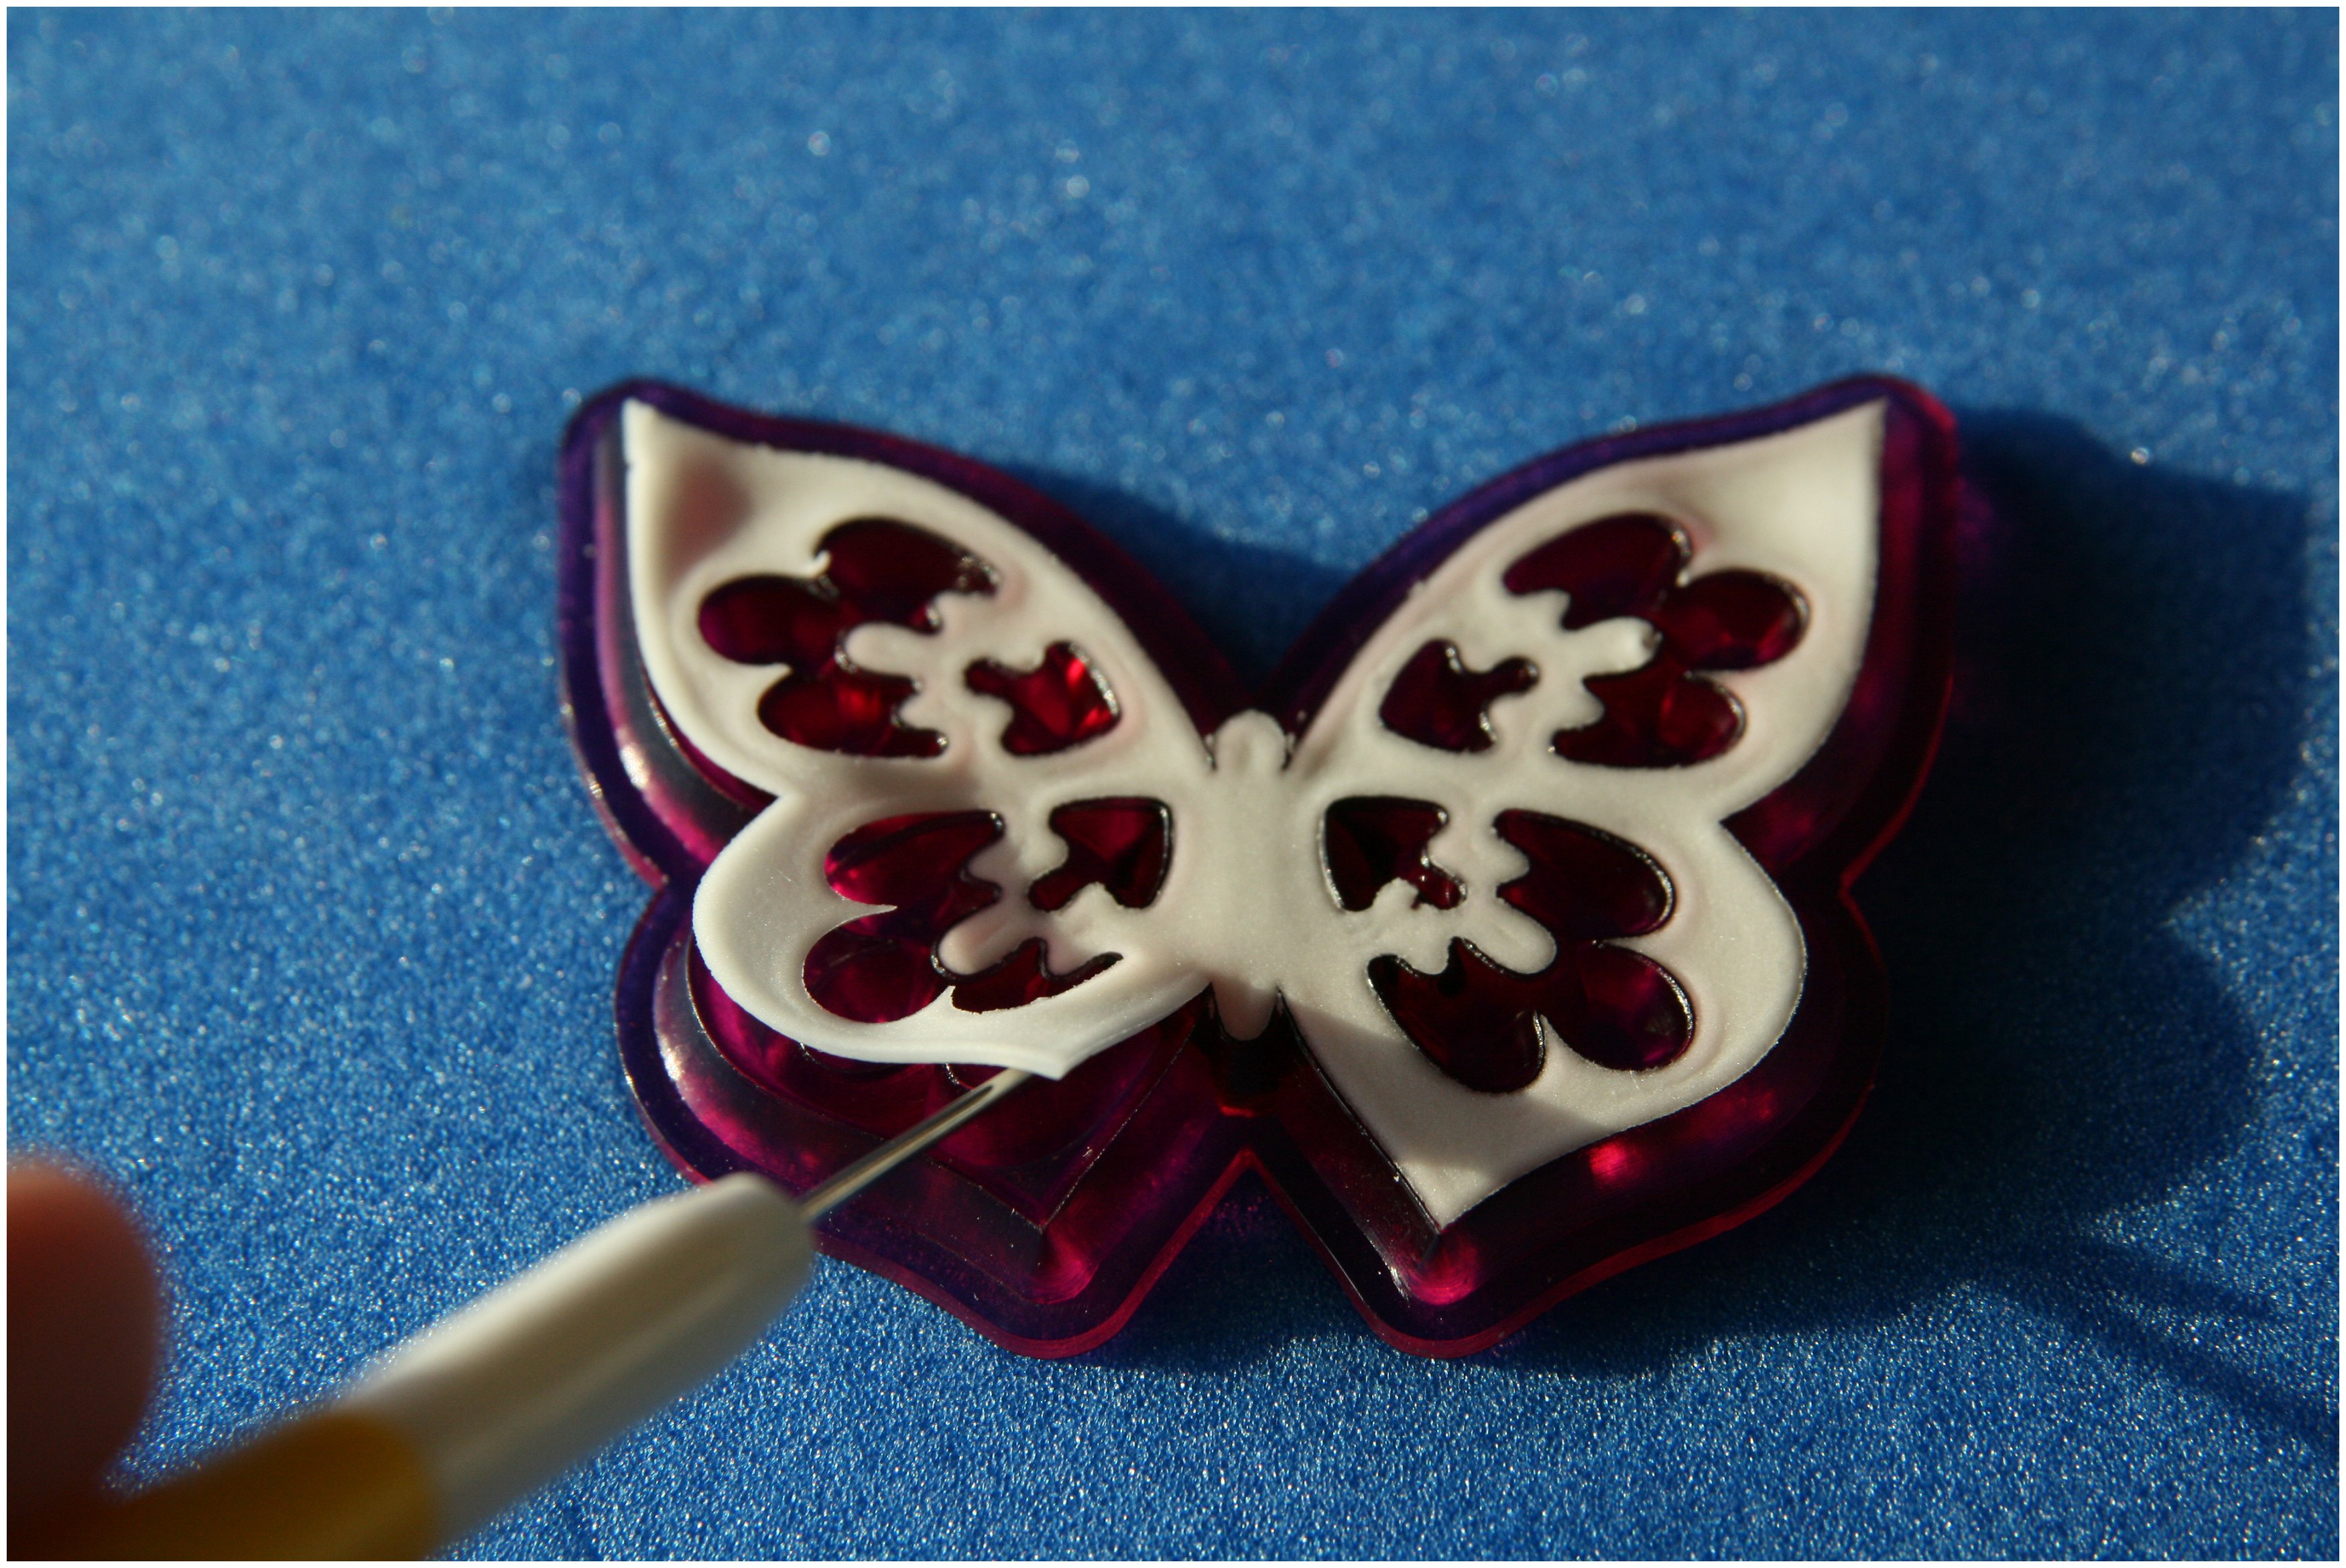
Once you have both sides loose you can now lift up the centre and remove the butterfly from the cutter completely.

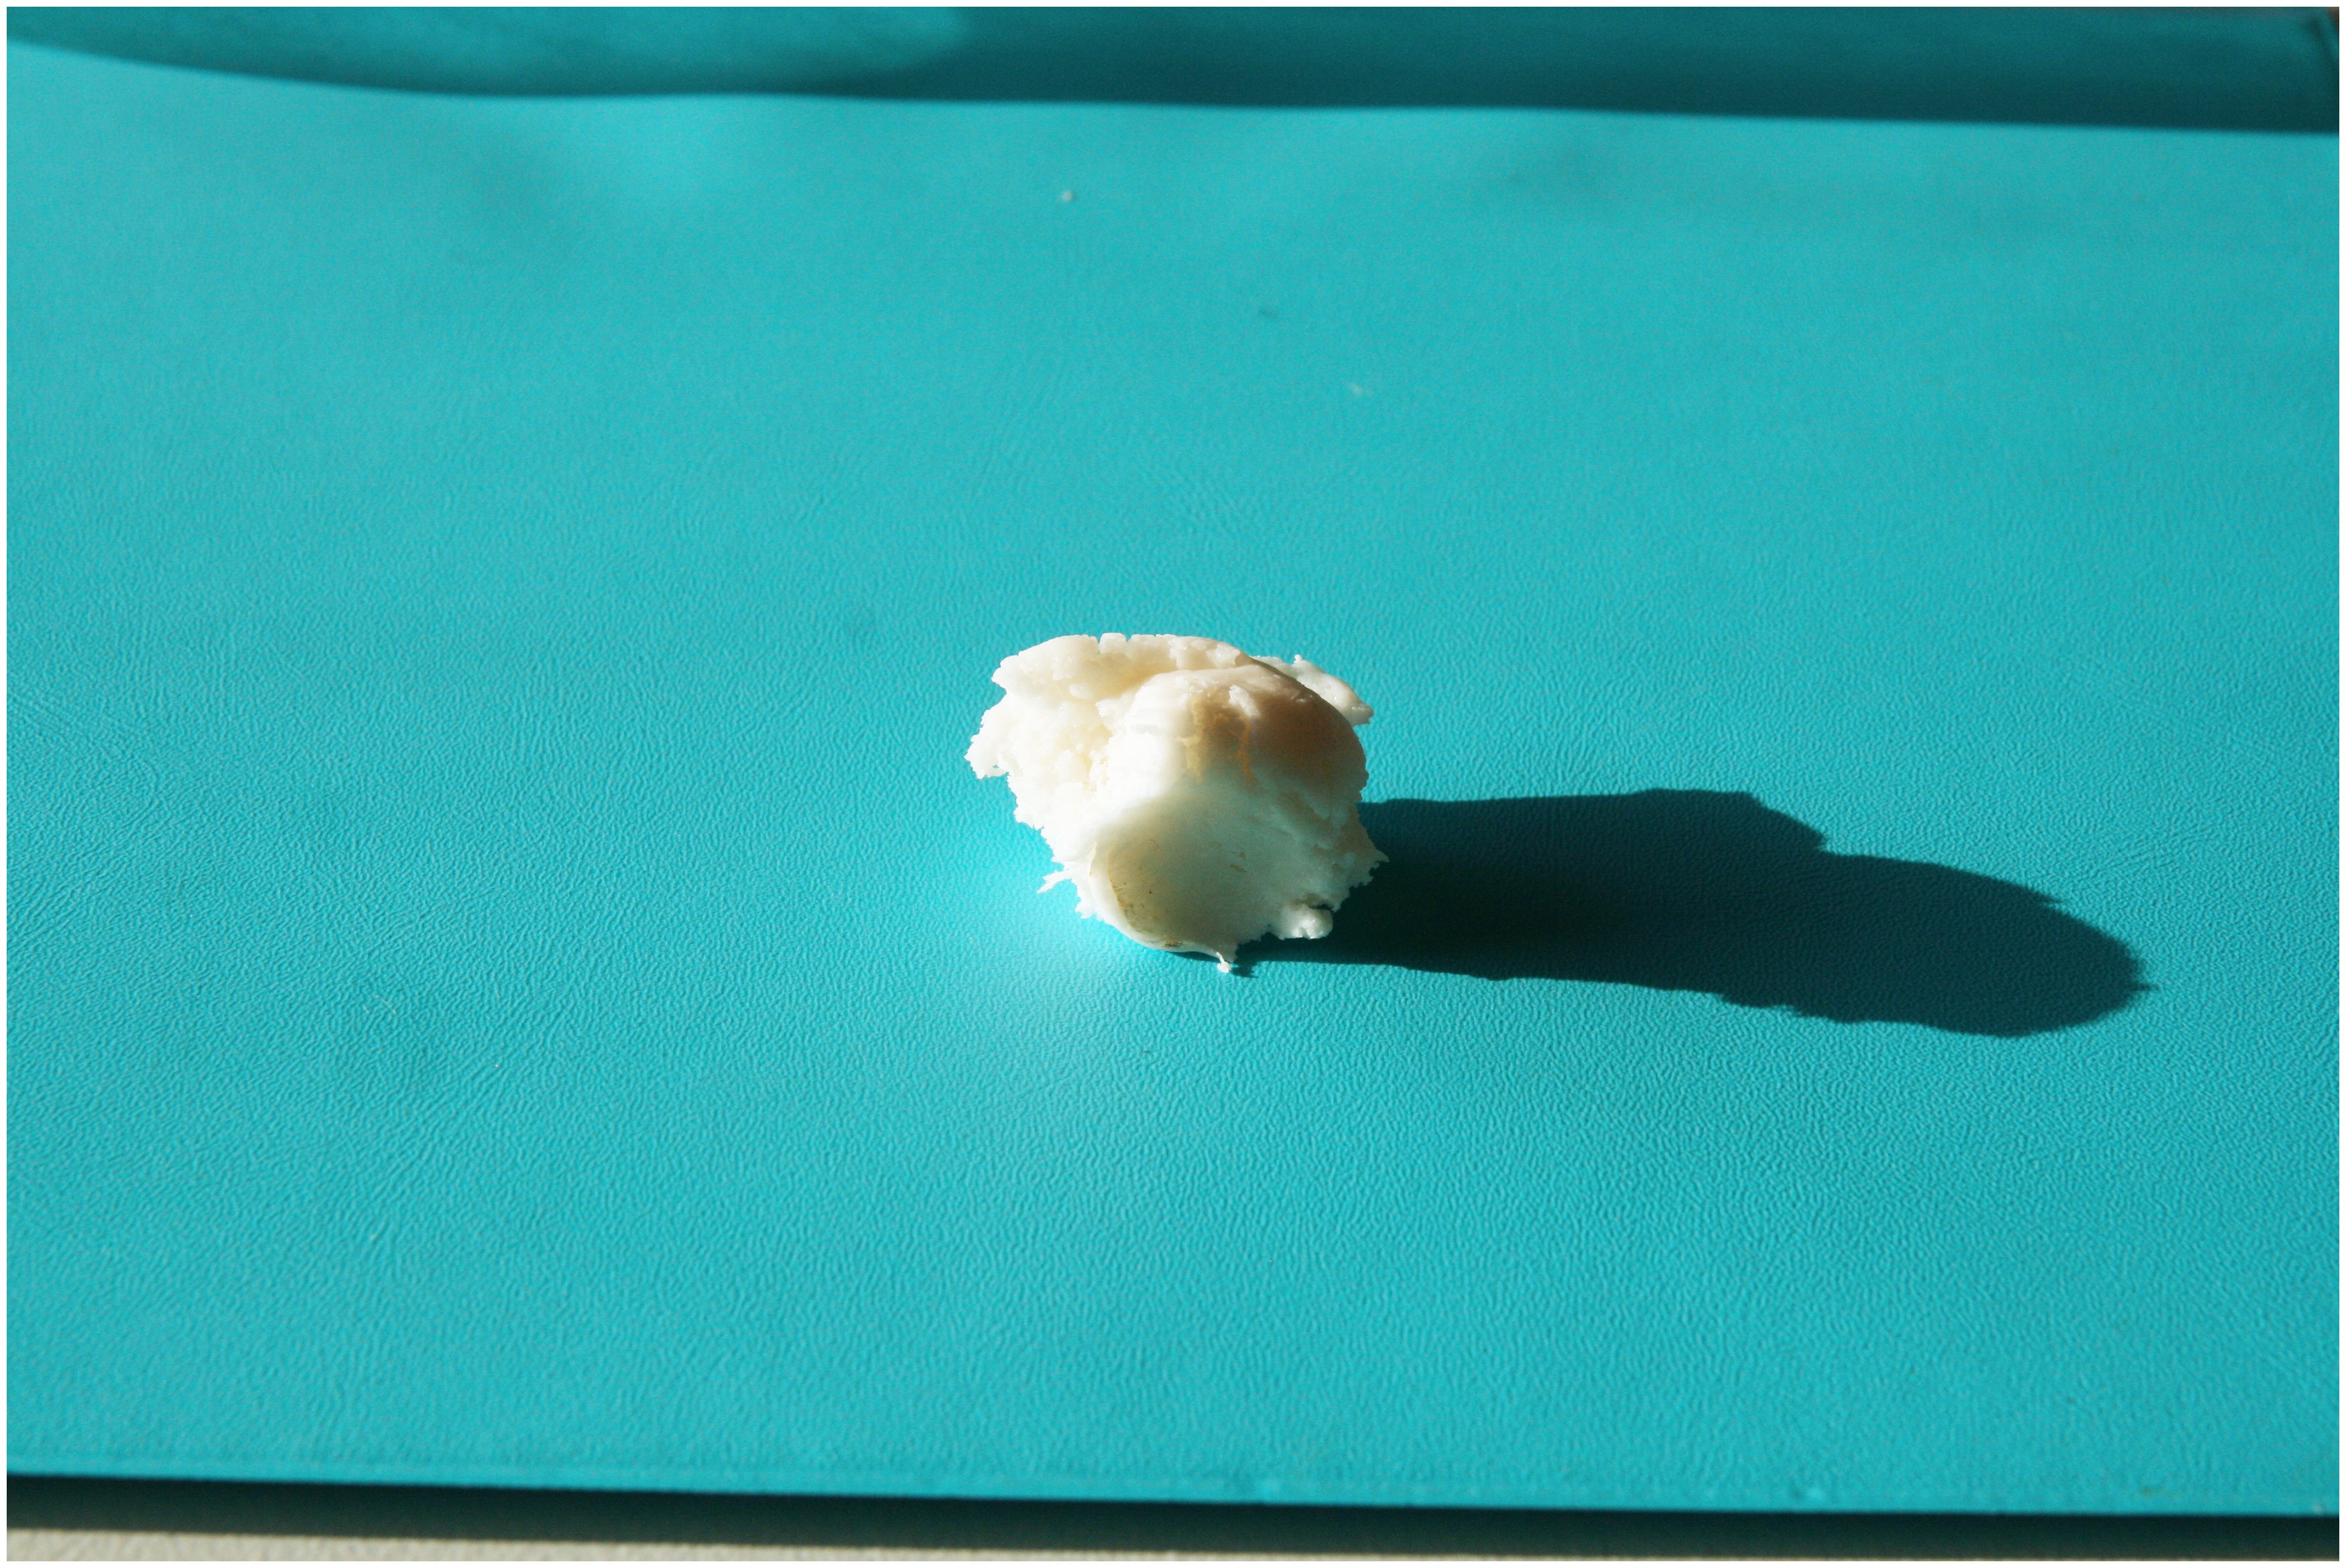
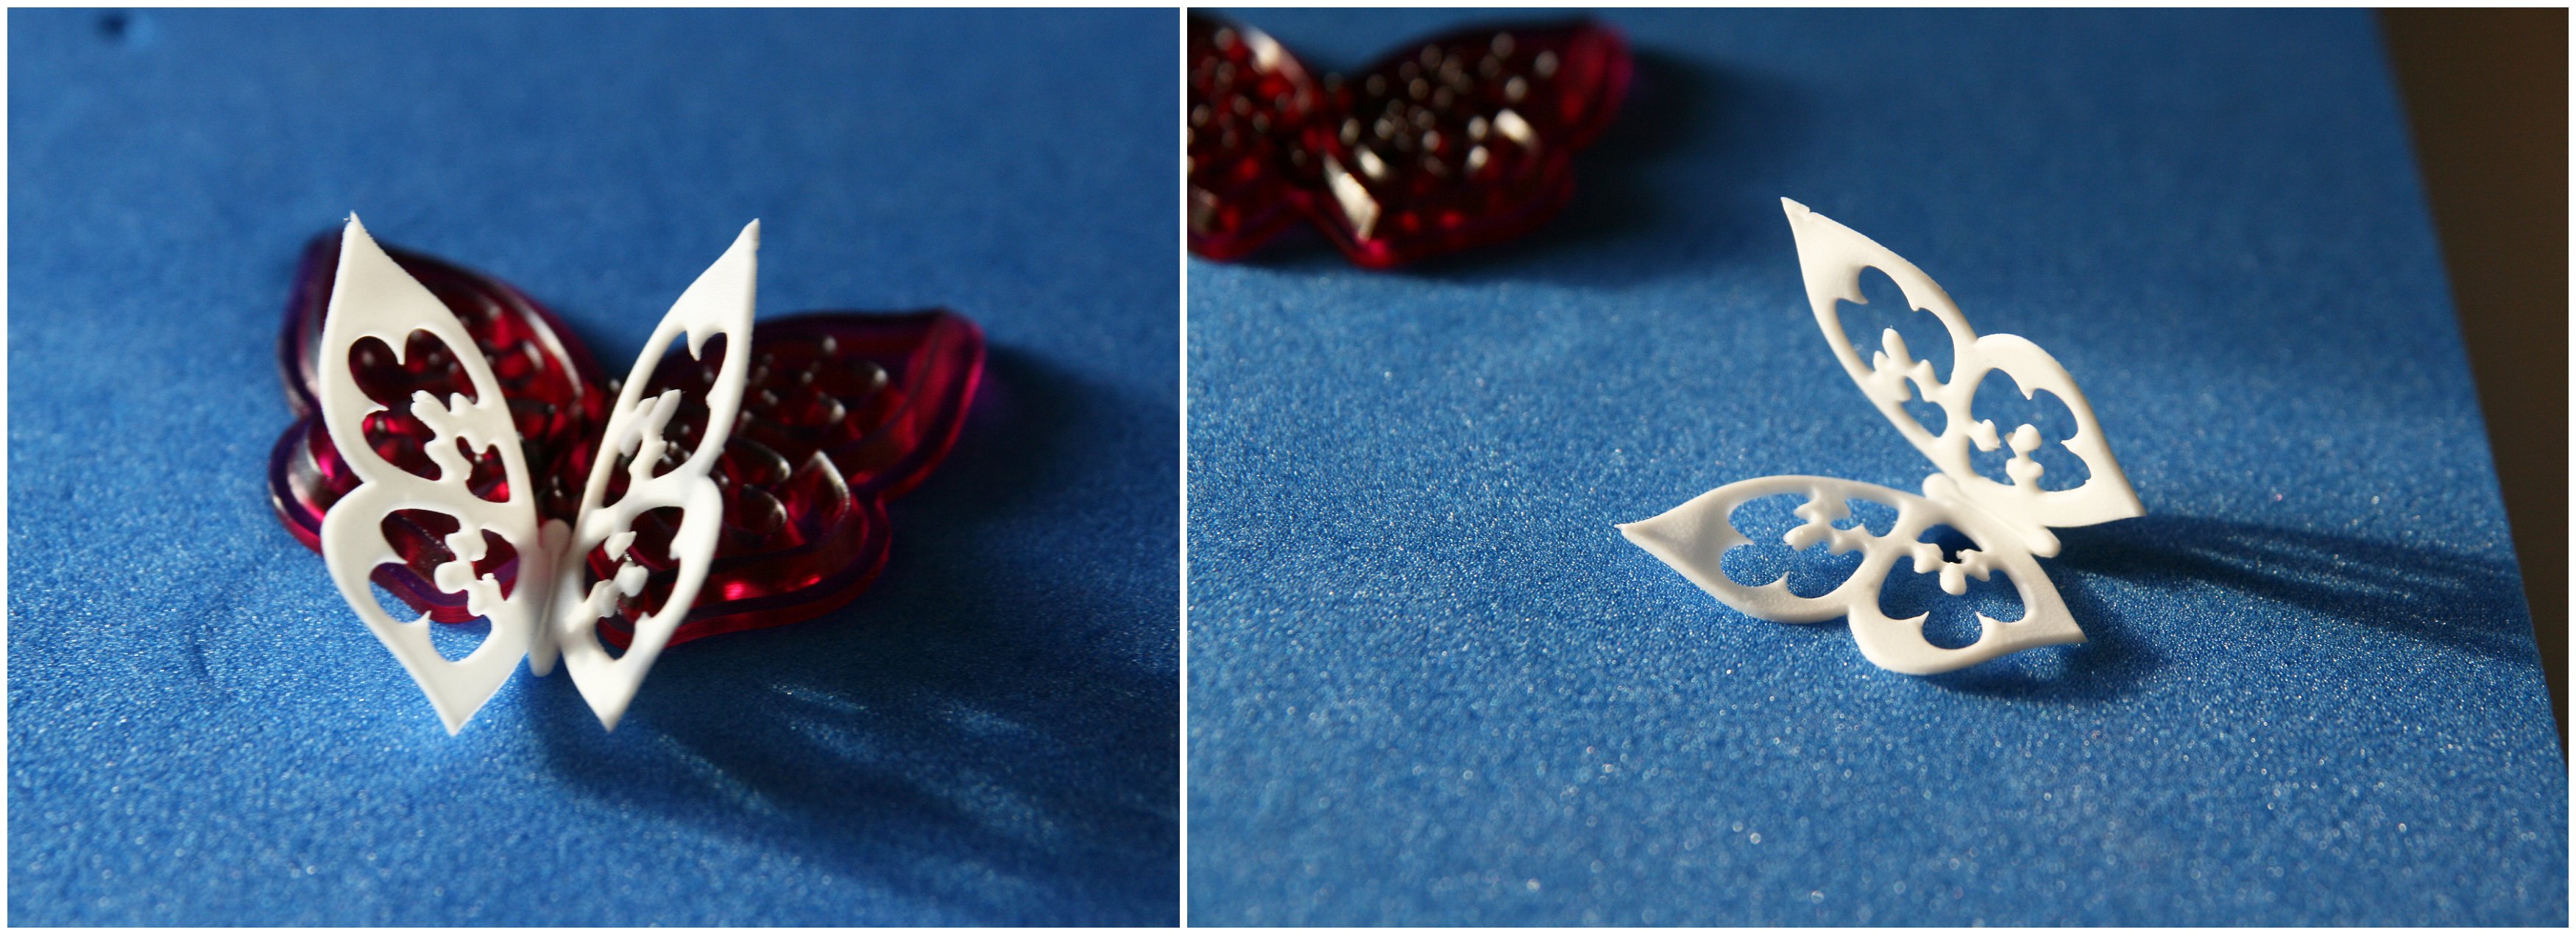
Drape the butterfly over your finger and pinch the back of the centre very slightly to make a fold in the butterfly.

Then carefully place it in your folded baking parchment. The angle of the butterfly’s wings will depend on the angle of the paper you use to set it.

You can use the rest of the paste to make more of the same or one of the other cutters.

Gum paste sets quite quickly at this size and thickness so you should be able to move it after about ten minutes. But leave it for an hour or so for it to dry out completely.
And there you have your finished butterfly.
If you are still having problems it might be that your paste is took thick, or if you are really quick you might need to wait a bit longer before removing the butterfly from the cutter.
by Katy Davies